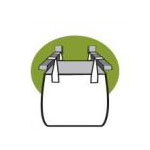
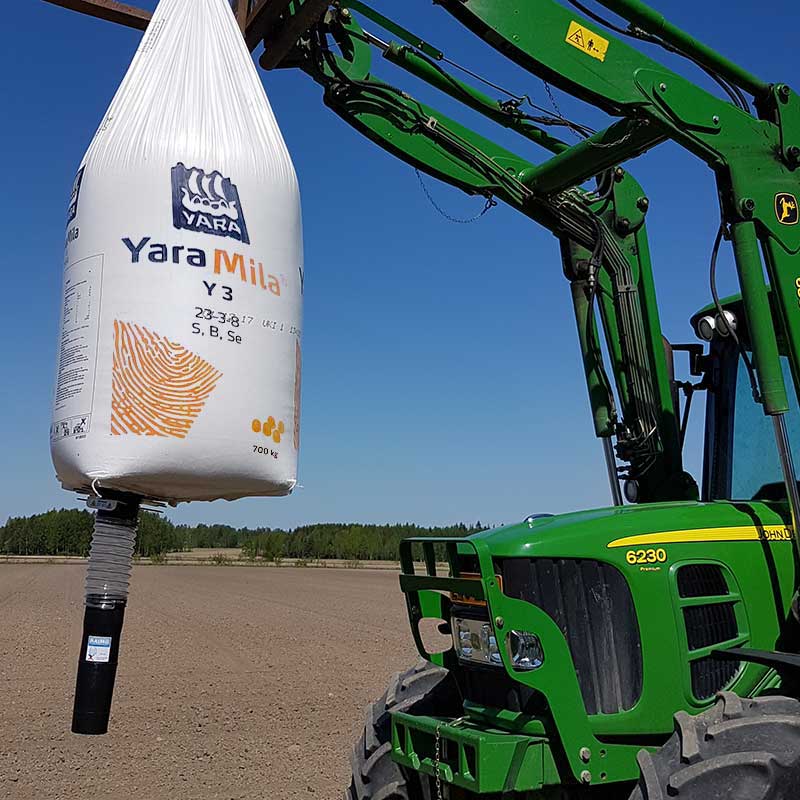
The dispenser can be attached on the side, close to the bottom of the bag. You can also attach the Dispenser to the bottom of the bag about 5-10 inch from the side of the bag, to secure safe working position.
ATTENTION!
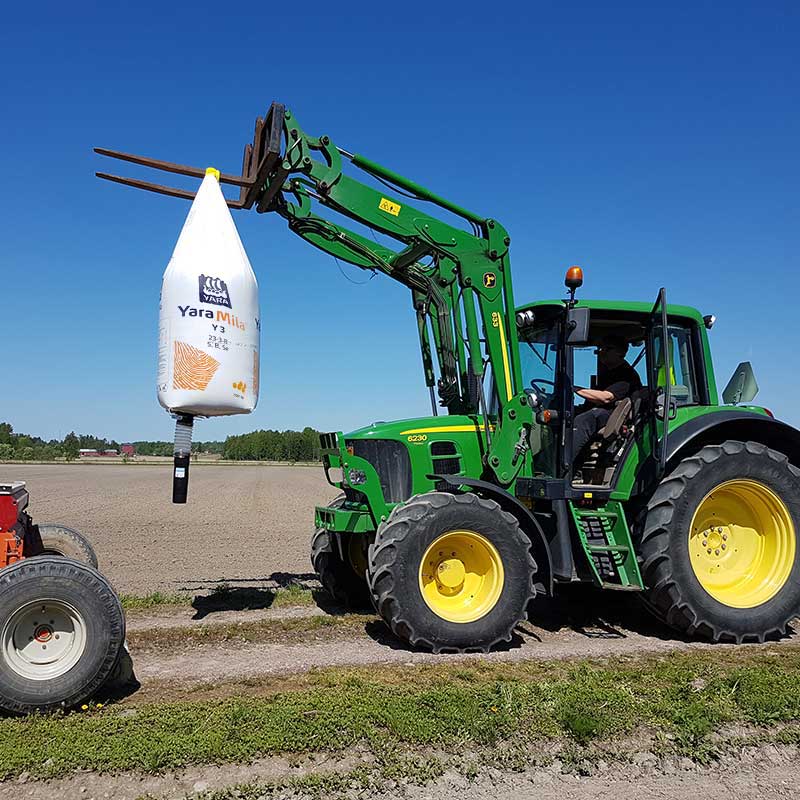
Always make sure the big bag is attached securely to the forks or rack.
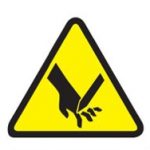
Do not put YOUR HAND inside the Dispenser
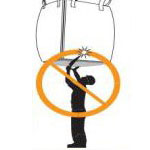
NEVER OPERATE UNDER A HANGING BAG
Keep out of reach of children
It is possible that same bulk bag linen yarn will remove and flow with the material.
INSTALLATION
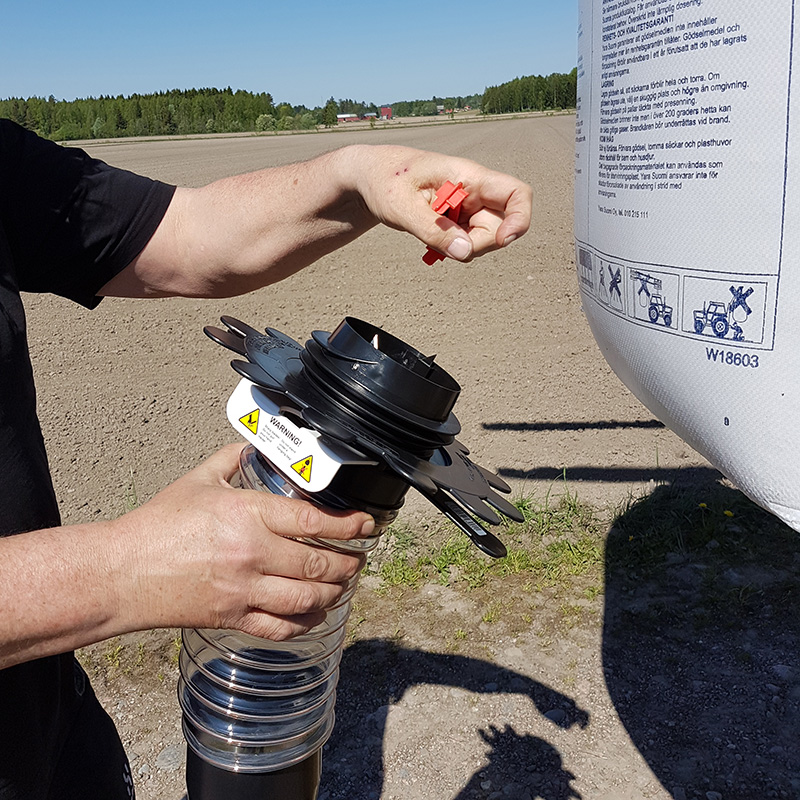
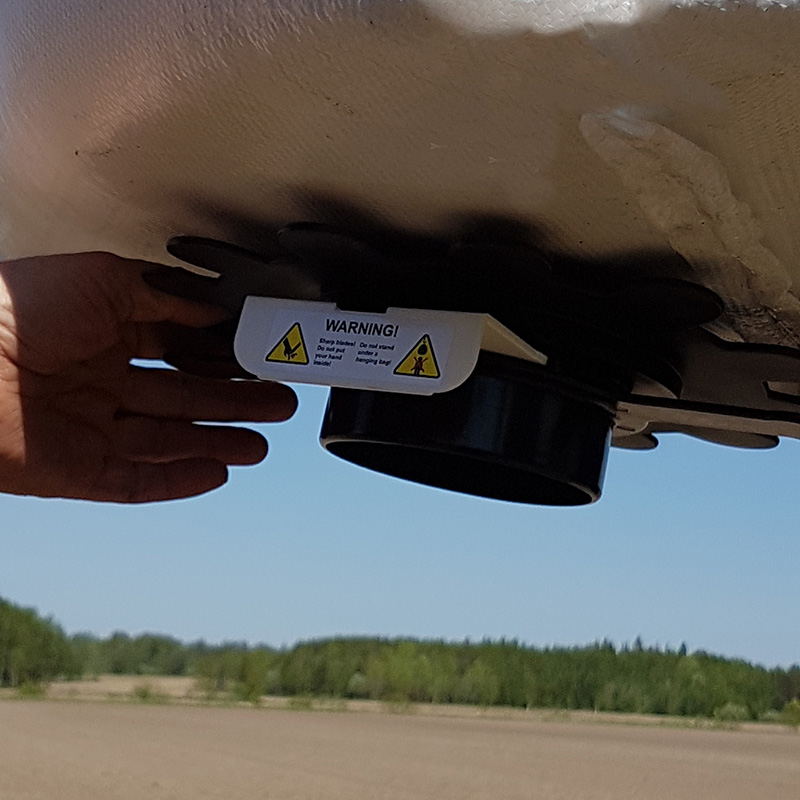
Ensure that the locking ring is fully screwed on to the main part with the printed side facing the bag.
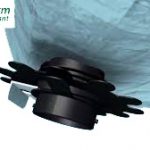
Remove the guard protecting the cutting blades
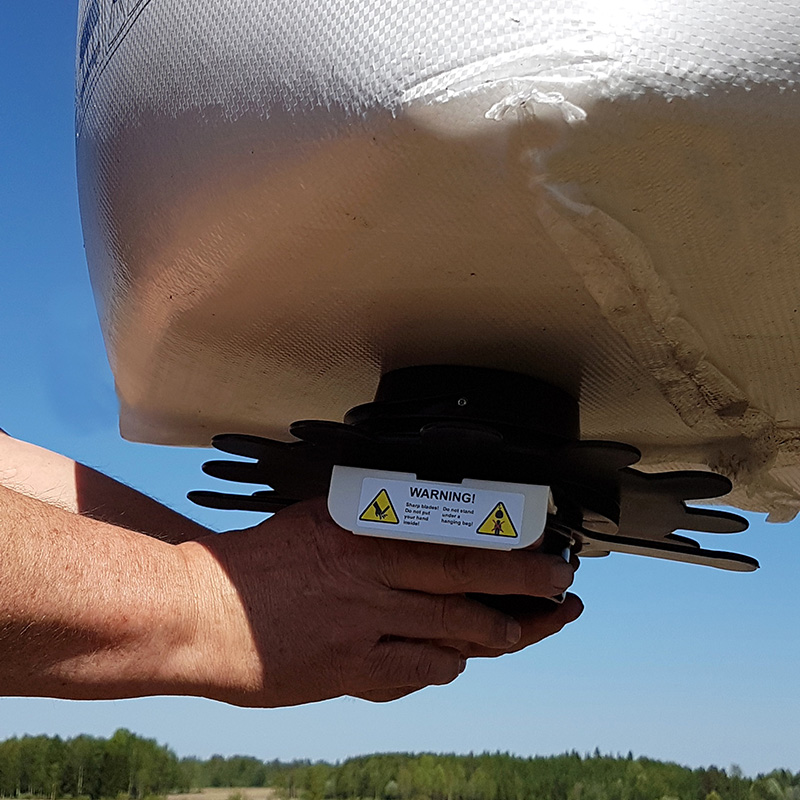
Take a firm grip of the main part handles and push the cutting blade through the bag liner. Keep valve closed.
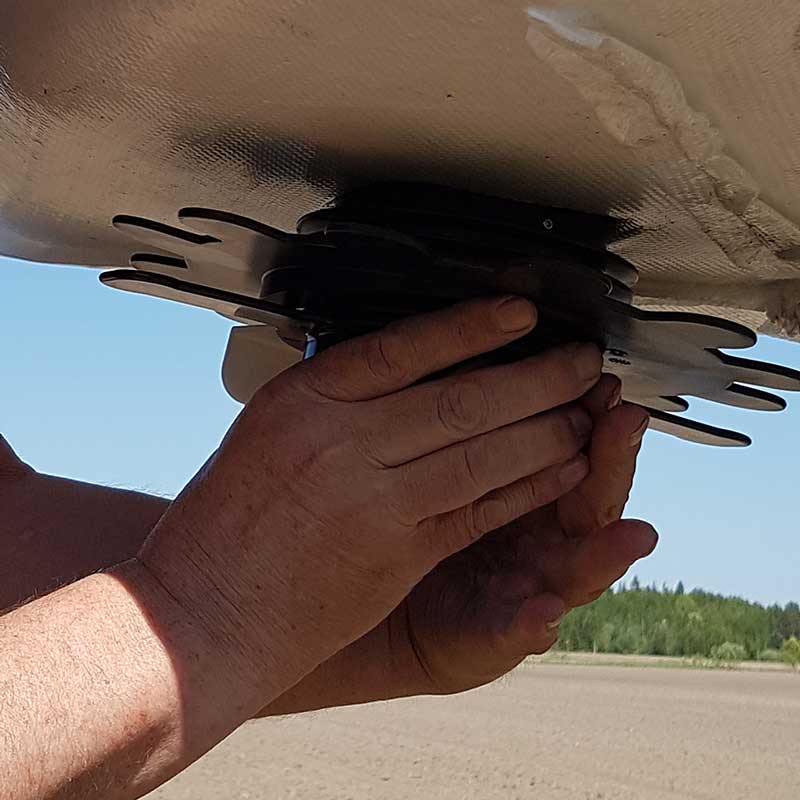
Screw the main part until the locking ring touches the bag.
Turn the locking ring until the Dispenser is locked into place.
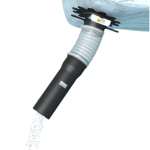
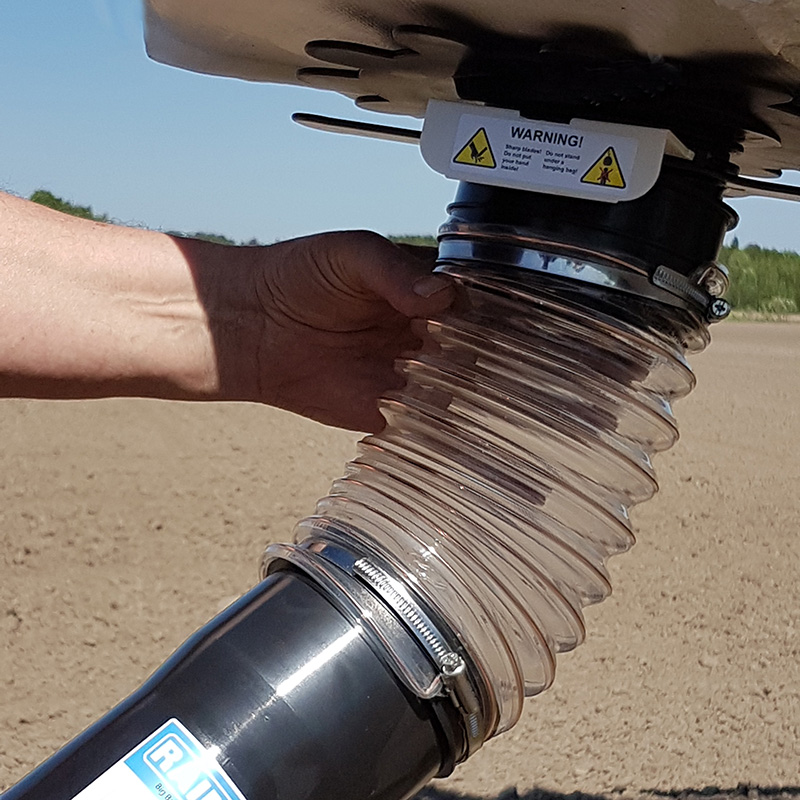
Attach the extension tube (if needed), just twist it.
Detach the extension tube before lowering the bag to the ground to store unused material.
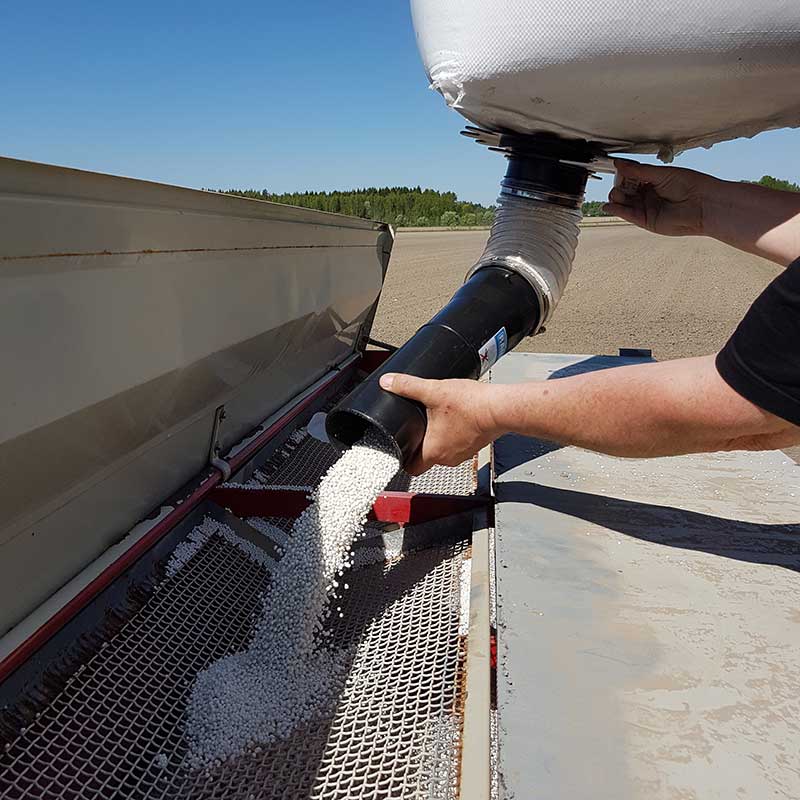
Operate by opening and closing the valve
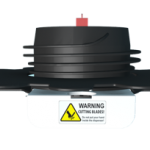
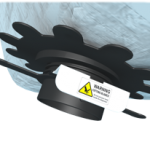
WARNING! Sharp cutting blades! Do not put YOUR HAND inside the Dispenser
HOW TO REMOVE:
Remove extension tube
Twist the locking ring, open clock vise
Twist off the main part
Put on place the protecting guard
The Dispenser may not work properly if
Material is not free flowing (for instance cement, flour)
Material what is hardened (for instance moist sand)
NOTE! Small bits of bag liner may loosen when a hole is made in the bag with the Dispenser